-
Prepare a Container: Start by creating holes in the surface of a small container, approximately one meter deep (or a large/medium-sized container depending on your needs).
-
Add a Layer of Soil: Place 4 or 5 inches of soil inside the container (adjust based on the container size).
-
Include Organic Waste: Add organic waste (as mentioned earlier). Ensure that the waste does not come from any animal products.
-
Cover with Soil: Top it off with a bit more soil.
-
Regular Mixing: Every couple of weeks, use a shovel to thoroughly mix the contents, bringing the bottom residues to the surface and vice versa. This step is crucial for aerating your homemade compost.
-
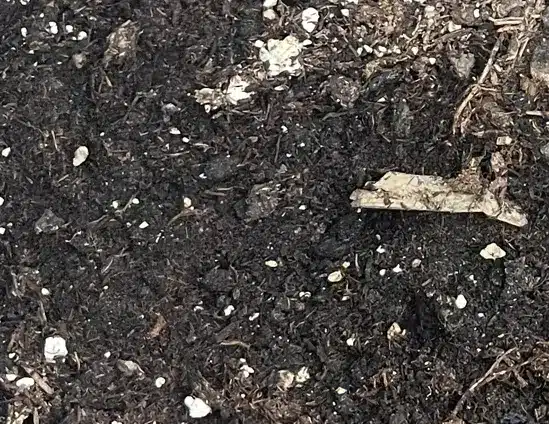
Observe Decomposition Signs: After a few weeks, you’ll notice worms, fruit flies, and other insects in your compost, indicating that the decomposition process is underway. When the soil takes on a black, crumbly appearance, and the organic matter has completely decomposed, it’s ready to be applied to your garden or vegetable patch. The smell of the compost should resemble that of damp soil. The manufacturing process typically takes two months if started in summer (as heat promotes decomposition) and five months if started in winter. To apply, spread it generously around the plant roots using a rake or another tool.